How to Use iPhone Data Transfer: Manage Contacts

Support Updated on Apr 23, 2023 6:52 PM
The program has options to manage your contacts on the iPhone. Here's how to do.
Table of Contents
Export contacts to computer
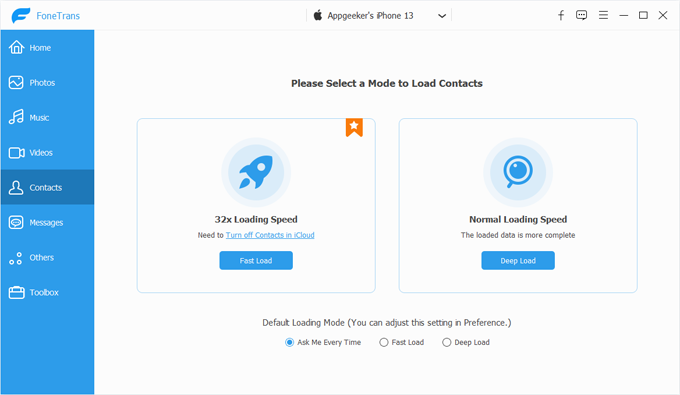
1. Open the program and plug your iPhone into the computer with a USB cable. After your device is connected, click the Contacts button on the left sidebar.
2. In the next window that opens, select from Fast Load or Deep Load. Please note that you will need to turn off iCloud Contacts if you want a fast load of your contacts list.

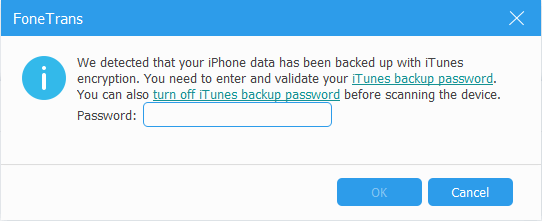
3. The program will analyze the device and make a backup of your contacts in case something goes wrong. When prompted, enter your password for your iTunes backup.

4. After backup, you'll be taken to the window which displays all you contacts.

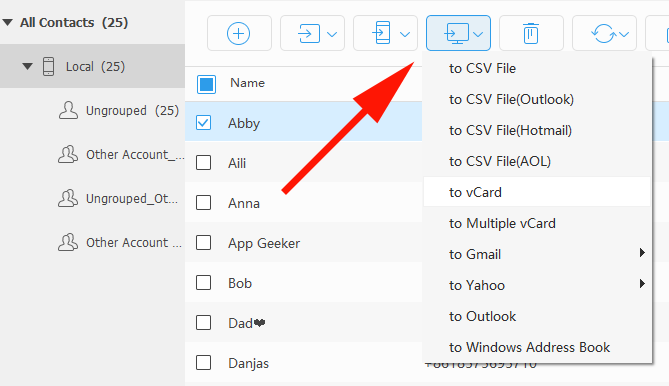
5. To export your contacts and save onto computer, select the contacts you want to export by checking the boxes next to contact items, then click the Computer icon from the top menu bar.

From its drop-down list, you have a few options to choose from
- to CSV
- to CSV File (Outlook)
- to CSV File (Hotmail)
- to CSV File (AOL)
- TO vCard
- to Multiple vCard
- to Gmail
- to Yahoo
- to Outlook
- to Windows Address Book
You can also right-click on the selected contacts and choose Export to PC from the context menu, then select how you want to export the contacts to.
6. In the new opening window, browse and select a destination folder on your computer and click Open to start copying your contacts from device to your computer.
Export contacts to another iPhone
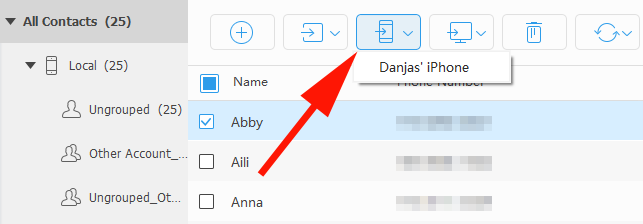
If you want to transfer your contacts from your iPhone to another iOS device, select Device icon in the top menu bar instead. From the drop-down list, select your target device.

Add contacts from computer to your device
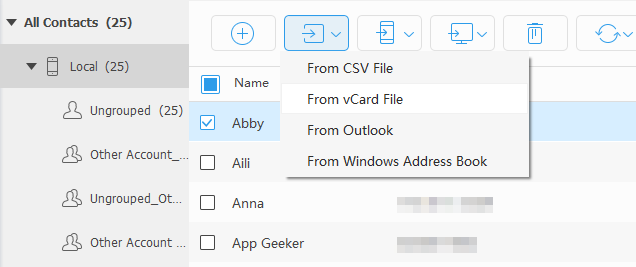
To transfer contacts from your local hard drive to your iPhone or iPad, click on the Import icon on the top menu bar. From its drop-down list, select the contact types. The program supports CSV file, vCard file, Outlook or Windows Address Book.

Next, a dialog should open, you will have to select the contacts you want to add from your computer. Click Open, and your contacts will be transferred to your device immediately.
Create new contacts
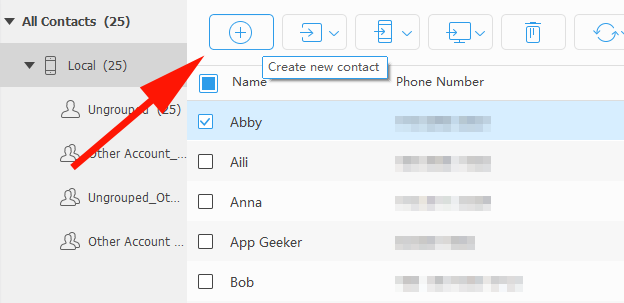
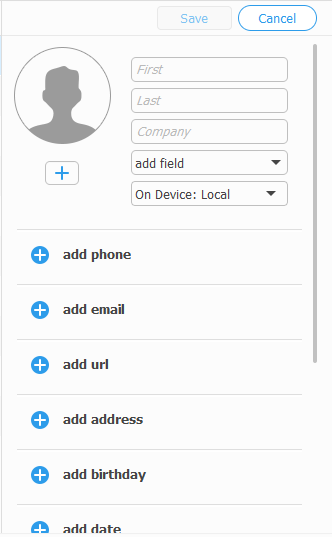
To do so, click the Plus icon button on the top menu bar, a small window should pop up.

Fill information in the blank fields, press Save to save the information and close the window.

Delete contacts on your device
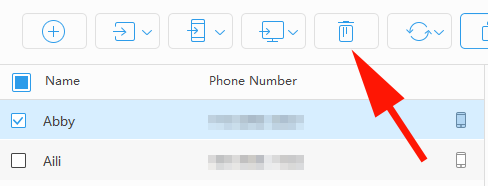
Select the contacts you want to delete from the contacts list, click Delete button on the top menu bar, click the Delete button to confirm the pop-up message.

Edit contacts information
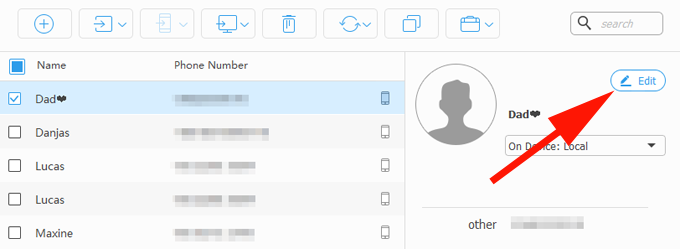
Select the contacts you want to edit from the list, click Edit on the right side of the interface or from right-click menu. An editing window should appear allowing you to change the information for the contact. You can even add extra information such as street, address, notes, and more. Click Save to preserve the changes.

Merge duplicate contacts into a complete one
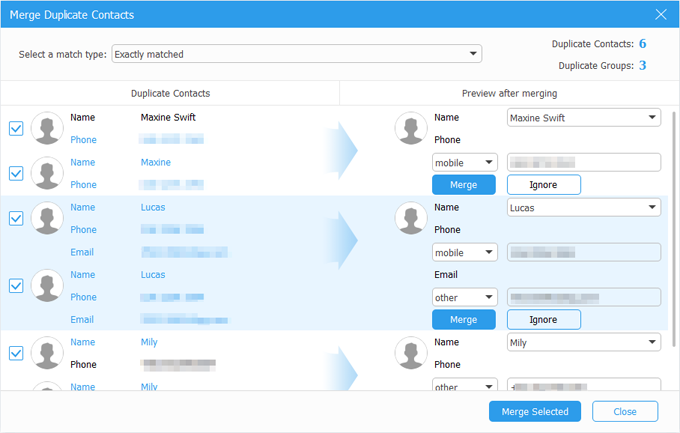
Click on the contacts group you want to de-duplicate contacts from left sidebar, and press Find-duplicate icon at the top menu bar. The program will scan and show you all the contact groups checked.

The duplicate contacts will be listed in a new window, as the image shown below. From there, you are able to select a match type on the top. The matched types including:
- Exactly matched
- Name and any other items matched
- Email and any other items matched
- Phone and any other items matched
- Name, email or phone matched

After you've selected a match type, you just press Merge Selected located on the lower right corner to merge all selected duplicates in a batch, or click the Merge button on the right side of every selected duplicates to merge one by one manually.
Create new group
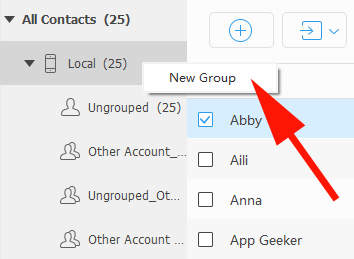
You can create new group and add contacts to it, as well as transferring contacts from one group to another. To create a new group, simply right click on the Contacts category on the left sidebar, select New Group from right-click menu.

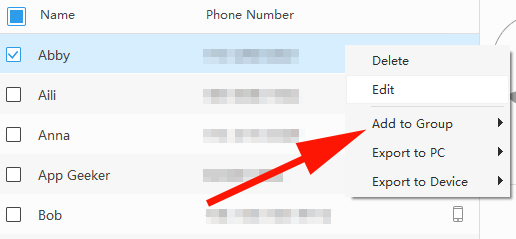
To move contacts from one group to another, all you need to do is select the contacts you want to transfer, from right-click context menu select Add to Group > [Group Name].

You can also use the right-click context menu to export contacts to your computer or device, delete, or even edit it.


