How to Find iPhone Backup on Mac
Wondering how to find iTunes data backup locations for iOS devices on various Windows operating systems? This comprehensive guide will tell you everything.
When using iTunes on a Windows computer, you may be curious about where the iPhone backups are stored on PC. But it is not always straightforward to find your iPhone backups location on PC computers. Different versions of Windows, such as Windows 7, 8, 10, and 11, have distinct default paths for storing iPhone backups by iTunes.

By default, iPhone backups on Windows 10 are stored in a folder located within the user's AppData directory.
Generally, the very first step to locate the iTunes backup files of iPhone on your Windows computer is to open File Explorer or Windows Explorer, then navigate to:
C:\Users\Username\AppData\Roaming\Apple Computer\MobileSync\Backup\
However, even if you find the iPhone backup location, you can't check them directly on your PC. Instead, you can use a third-party tool iOS Data Backup & Restore to effortlessly back up, view and restore your iPhone backups on your Windows computer.
Table of Contents
Knowing the location of iPhone backups on Windows 10 is useful when you need to access, restore, or update your iPhone data through iTunes. However, it is recommended not to modify or move the backup files manually unless you are familiar with the implications, as it may affect the integrity and usability of the backups.
To find your iPhone backup files stored on Windows 10 computer, here's how:

If you still can't find where are your iTunes backups on Windows 10, try this:
Enter "%userprofile%" in the search bar, then click "Apple" > "MobileSync" > "Backup".

Once you reach the iTunes backup location, you will see multiple folders with randomly generated names. Each folder represents a different iPhone backup, with the folder name corresponding to a unique device identifier.
On Windows 11, the default location for iPhone iTunes backups is the same as on Windows 10.
You can use the same steps as mentioned above to find where are your iPhone backups stored on Windows 11, or follow the steps below:
Step 1. Press the Windows key on your keyboard or click on the Windows icon in the taskbar to open the Start menu.
Step 2. Click "File Explore," then navigate to "This PC."
Step 3. Select C:\Users\Username\AppData\Roaming\Apple Computer\MobileSync\Backup\

Or head to C:\Users\User name\Apple\MobileSync\Backup\
In the above path, "Users" refers to the Windows username of the currently logged-in user.
It is important to note that the "AppData" folder is typically hidden by default in Windows. To access it directly, you can type the path above in the File Explorer address bar.
If your computer is not working for some reason, you can back up iPhone without computer.
On Windows 8, the location for iPhone backups created through iTunes is:
C:\Users\Your username\AppData\Roaming\Apple Computer\MobileSync\Backup\
You can go to the taskbar in Desktop view to open "File Explorer" on your Windows 8 computer, then type or copy-paste the path above to find your iPhone backup location.
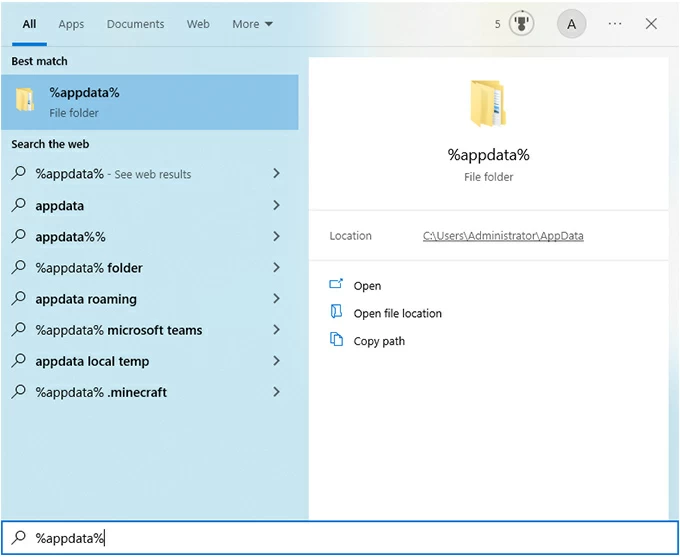
If you can't get into the "AppData" folder, try to search for "%appdata%" instead. Because it is a system variable that points to the current user's AppData folder. This variable ensures that the correct path is used regardless of the username or specific location of the AppData folder on your Windows computer.
Read more: How to back up photos to iCloud on iPhone
If you're using Windows 7 or an older version like Windows XP, you can find the iPhone backup location by following these steps:
1. To locate your iPhone backup files, first you need to press Windows logo key + E to open Windows Explorer.
2. In the address bar, copy-paste the respective backup path mentioned below:
On Windows 7:
On Windows XP:
3. Then press Enter or Return, and it should take you directly to the location where your iPhone backups are stored.
iTunes stores iPhone backups in a default location that can be challenging to locate on Windows computers. Additionally, when you do locate the backups, you will typically encounter a collection of files with encrypted names and complex coding.
If you're looking for a convenient way to browse your iPhone backup content on your PC, the third-party tool iOS Data Backup & Restore offers a user-friendly solution. With its intuitive interface and powerful features, you can selectively view and restore specific data to your PC without the need for a full sync.
1. Connect your iPhone to your PC using a USB cable, and launch the software.
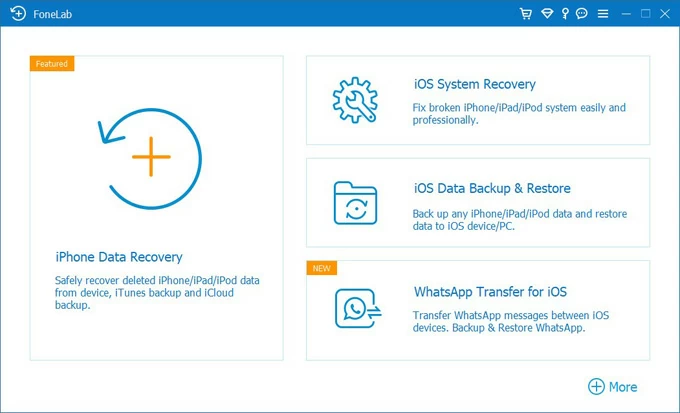
2. Once your iPhone is detected by the software, select the "More tools" tab from the bottom left of the main interface.
3. In the next window, click on the "iOS Data Backup & Restore" option.

4. Then you need to back up data by clicking "iOS Data Backup," and hit "Start."

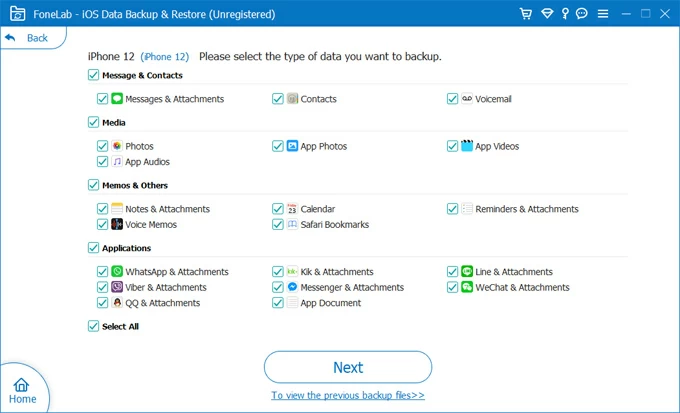
5. Tick the box next to the data you want to backup, then select "Next." It may ask you to enter your iTunes passcode during the process, and it is "1234" by default.

6. To view the iPhone backup files on your PC, go back to choose "iOS Data Restore," and select the backup file you want to check, then click on the "View Now" button.
iPad backups are typically saved in the same location as iPhone backups on Windows computers. Here are the general steps to find iPad backups on Windows:
1. Press the "Windows key + E" on your keyboard to open File Explorer.
2. Try this path:
C:\Users\Username\AppData\Roaming\Apple Computer\MobileSync\Backup\
Tip: Replace "Username" with your actual Windows username.
To get iTunes backup locations on your computer, the process differs based on the operating system you are using.
For Windows 10, 8, 7, or Vista:
Step 1. Click the File Explorer icon in the taskbar.
Step 2. Type "%appdata%\Apple Computer\MobileSync\Backup\"
or "C:\Users\Username\AppData\Roaming\Apple Computer\MobileSync\Backup\"
For macOS users, you can click this: How to find iPhone backup on Mac to learn the related content.
You should not change the location of the iPhone backup files on PC manually. iTunes relies on the default backup location to find and restore your iPhone data. Modifying the backup location can cause compatibility issues or prevent iTunes from recognizing the backups.