How to Record Audio Playing on Computer
Audio can be recorded on various platforms, covering Windows PC, Mac, iPhone, Android phone, or even a website. Here's how to capture sounds on different computers or phones.

You are able to make audio recordings on your computer or phone using proper sound recorders.
Any computer or phone allows you to record audio conveniently with an appropriate sound recorder, and that has made capturing and preserving audio more accessible. No matter if you feel like creating podcasts, recording musical shows, or conducting interviews, you can complete the task simply by recording sound on a computer or a mobile device nearby.
Check out this tutorial for more details about the audio recorders that can be used respectively to record computer audio or capture external sound on PC, Mac, iPhone, Android, or even website. Among those, the AppGeeker Screen Recorder may stand out for its ability to record sounds from computer and microphone at the same time.
Table of Contents
Related: How to record all audio on your computer
Every Windows PC or laptop is bundled with an inbuilt sound grabber for recording audio, which may vary depending on the Windows version.
On the latest Windows 11, there's Sound Recorder. It is called the same as the one on Windows 7 and Windows 8, but has been upgraded with multiple new features for recording and editing sounds. While on Windows 10, the native sound recording tool would be Voice Recorder instead; it differs from the former mainly on the interface.
Note:
Learn more: How to record computer audio and microphone on PC
Below, we'll outline the steps to record system sounds or grab external sounds with Sound Recorder on Windows 11.

1. Open Sound Recorder. you can search for it in the searching box on the bottom menu bar.
2. Adjust the settings for recording your PC's sound. Hit the down arrow on the lower-left corner, and select Change default in Settings. On the Advanced section, hit More sound settings and click Recording. Then right-click on Stereo Mix to enable it.
Alternatively, for recording sounds from microphone, you just need to plug the microphone in your computer, and select Microphone from the pull-up list after clicking the down arrow on the Sound Recorder interface's bottom-left corner.
4. Click the Record button at the bottom to start recording. Also perform as needed.
5. Click the Stop button to stop recording.
6. Hit the recording at the left panel for review.
QuickTime Player is a comprehensive audio recorder that comes pre-installed on Mac. It facilitates media playing, screen recording as well as audio capturing.
Now let's have a look at how to use QuickTime Player to record audio on your Mac.
Tip: The guide below is suitable for any macOS device to record sounds, including Mac, iMac, MacBook, etc.

1. Launch QuickTime Player on your Mac.
2. Go to File > New Audio Recording.
3. Hit the down arrow next to the Record button to select your microphone.
4. Play the audio that needs recording.
5. Click the Record button to trigger the recording.
6. Click the Stop button on the top bar menu to put the recording to an end.
7. Hit File > Save as to export your recording to a wanted location.
Note:
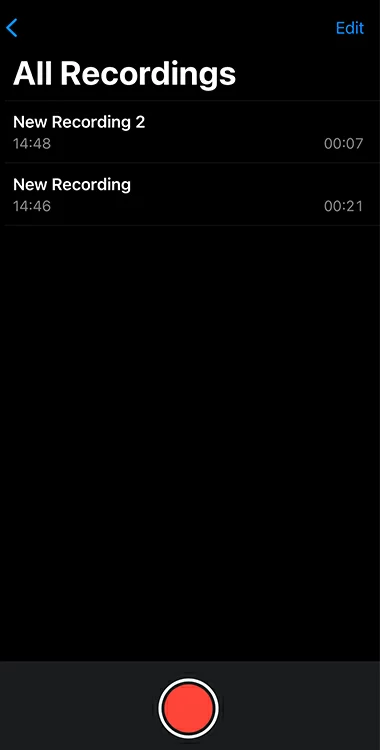
iPhone comes with a built-in audio recording tool, which is Voice Memos. Not only can it record voice on an iPhone, but it also enables you to edit, share and organize your sound recordings.
Also read: How to record a ringtone for iPhone

1. Open Voice Memos on your iPhone Home screen.
2. Press the red Record button below to start recording. And speak or play the audio now.
3. Press the Stop button to finish the recording. The audio will be automatically saved.
4. Tap the recorded audio.
5. Tap the Ellipsis icon and select the Share option to send it to others via email or social media.
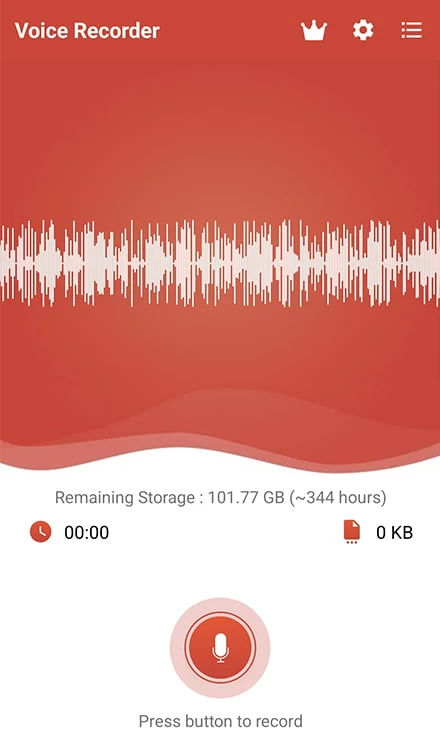
Unlike iPhone, Android device does not have a native tool for recording audio. In this case, you can download one from the Google Play store by searching for "record voice." There're a number of options for you to capture sound on your Android phone.
Here we'll simply display the steps using an app called Voice Recorder.

1. Download the app and open it on your Android phone.
2. To start recording, tap the Record button.
3. To stop recording, tap the Stop button.
4. Name the recording file and tap SAVE.
5. Select the Menu option on the upper-right corner and then the Ellipsis icon beside the recording to share the audio.
It may come as a surprise that web-based audio recording solutions are also available to grab audio online. Here we've got one for you to try.

1. Navigate to the website of the online voice recorder.
2. Hit Allow Microphone Access if you received a prompt in the browser.
3. Click the Record icon to get the recording started.
4. Click the Stop icon to end the recording.
5. Hit the Save button to export the audio file to your computer.
If needed, you can trim the recording before the output.
Neither Sound Recorder on Windows nor QuickTime on Mac allows you to record system audio and capture sound from microphone simultaneously. However, the AppGeeker Screen Recorder can be an optimal choice to tackle the issue. With this brilliant tool, you can record both internal audio coming from your computer and external sound from your microphone concurrently in high quality and various formats. Besides, editing features are also offered in the audio recording tool.
Follow the steps below to record sounds from a computer or a microphone at will.

1. Launch the software on your PC or Mac.
2. Select Audio Recorder.
3. Enable System Sound to record audio from computer, or Microphone to capture your microphone's audio. They can be turned on at the same time.
4. Hit the REC button to grab the audio. Now you can play the audio for recording.
5. Hit the red Stop button to complete the recording.
6. Press Done on the preview window to save the audio.