
How to Erase an iPhone
If your iPhone 12 is disabled and asks you to plug it into computer for connecting with iTunes, these tips can help you out.
What to know:

There are different ways to fix iPhone 12 disabled connect to iTunes issue, depending on if you have iCloud or iTunes available to use.
Setting a passcode for your iPhone 12 helps you build the defense against unauthorized access to your device where store your valuable data and sensitive bank information. But it can also backfire once you can't remember the passcode yourself.
If you get a message that says your iPhone 12 is disabled connect to iTunes after type in incorrect passcode too many times, you can still unlock the disabled iPhone 12 and get things working again, though you will lose all the data and restore the phone to factory settings.
There are two main kinds of iPhone 12 disabled fixes: computer based restore and remote erase. Computer based restore involves iTunes or Finder on Mac with 10.15 or later, requiring you to put the phone into recovery mode while connecting to computer and reset the disabled iPhone 12 into default settings. Remote erasing an iPhone 12 when it's disabled and says connect to iTunes is relatively simple, but you're required to be able to sign into your iCloud account, Find My is enabled, and the phone is connecting to Wi-Fi or cellular network.
When you see "iPhone is disabled connect to iTunes" error or iPhone Unvailable on your iPhone 12, you're able to unlock the disabled device with nothing but the tool you already have on your computer at your disposal, that's with iTunes. Don't know how to connect iPhone 12 to iTunes when disabled? Start the phone in Recovery Mode. If you have upgrade your iPhone 12 to iOS 15.2 or newer version, you should see an iPhone Unavailable message instead.
Once iTunes recognizes your disabled iPhone 12 in Recovery Mode, it offers you the option to restore your phone to factory settings and unlock it eventually. Here's how.
1. Press and hold both the Side button and Volume Up (or Volume Down) until the power off slider appears. Turn off the phone with the slider. Then continue holding the Side button while connect your iPhone to your either Mac or PC machine. Let go of the Side button until the recovery mode screen appears on your iPhone 12.
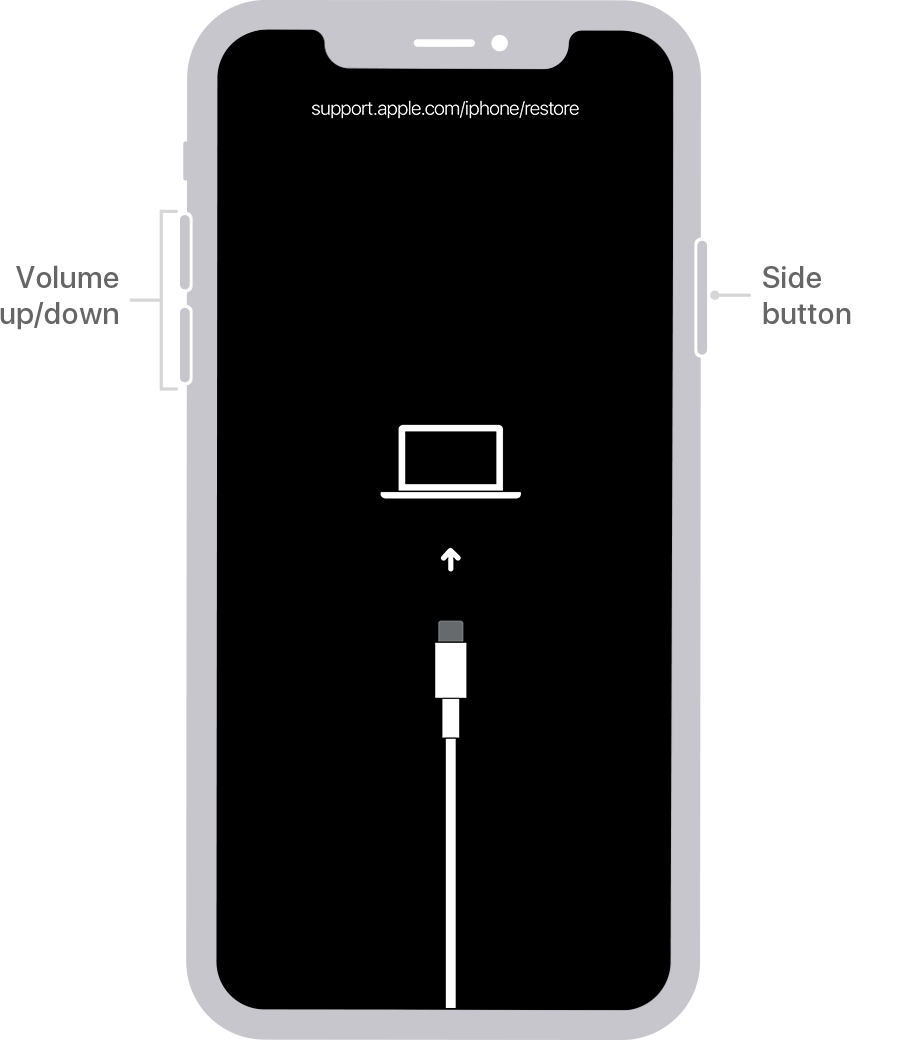
2. Open iTunes and select your phone icon on the top left corner. For Mac that has macOS 15 and later, Open Finder from your dock, and select your phone under Locations.
3. At this point, you will get a pop-up dialog, allowing you to use either the Restore or the Update option to fix your iPhone 12.. Select Restore.

4. Let iTunes or Finder downloads iOS software to reload on your phone.
5. After your iPhone 12 is unlocked, disconnect it from iTunes and set it up as new or restore data from a recent backup.
If, for whatever reason, iTunes is not recognizing the disabled iPhone 12 or you're unable to download and install it on your computer, you can still use third party application to help you reset the device. Our favorite is iPhone Unlocker. It works in a similar way to iTunes, but comes with a more friendly user interface that allows you to reset an disabled iPhone 12 easily.
Step 1. Download and install iPhone Unlocker on your computer, run it. Then connect your iPhone 12 that says disabled into the machine with a USB cable.
Select "Wipe Passcode" from the opening interface.

If your phone doesn't show up on the interface, you can follow the steps in iTunes way above to get your iPhone 12 into Recovery Mode, or click "Connected but not recognized" link on the interface to finish it.
Step 2. Next, check the basic information for your device. This is important, as you will need to download the right iOS software for your phone.
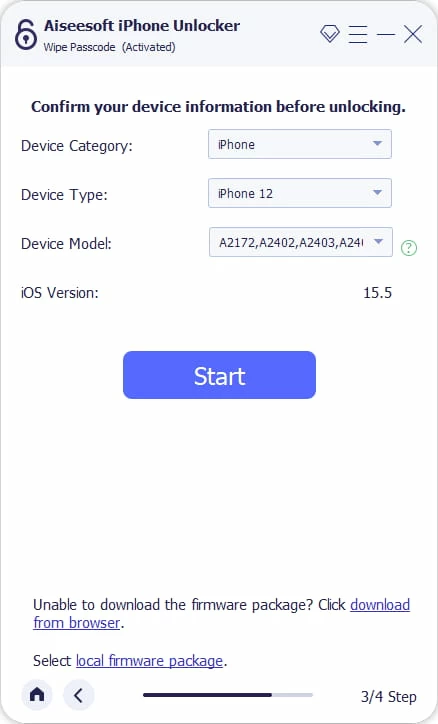
Step 3. When you click "Start" button, a progress bar will appear at the center of the interface, indicating the process of downloading your iOS software.

Step 4. Now that you have downloaded software, it's time to fix your disabled iPhone 12.
Click "Unlock" button on the interface. In the opening dialog box, confirm that this wipes your data resets the iPhone 12 to factory settings by entering "0000" codes.

Again, click the "Unlock" button in the dialog box and you're off. All you have to do is wait for the program to reset your disabled iPhone to factory.

When the reset process completes, your iPad will behave like it did when you first turned on it, displaying the initial Hello screen. It's your freedom to set it up.
Check out: What to do when iPhone is stuck on Apple logo loop
VIDEO TUTORIAL:
Considering the fact that your disabled iPhone 12 won't connect to iTunes, and you probably already have a headache trying to put it into Recovery Mode, then this trick will be very your solution.
1. To start, go to https://www.icloud.com/find/ page in your web browser on computer or mobile phone, and then enter your Apple ID and password.
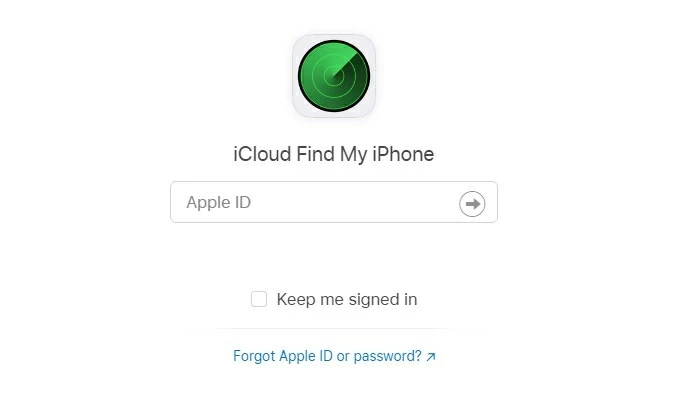
2. You'll be taken to a page where shows up all your active Apple devices on the map.
Next, we're going to select the disabled phone. Click "All Devices" list on the top enter, from the drop-down menu, choose your iPhone 12.

3. In the next page, select "Erase iPhone." Confirm your decision by "Erase" when prompted.

That's it!
You may be interested in: How to access iCloud backup.
If you have another iDevice on hand, the pre-installed Find My app there is probably one of the quickest ways to solve your "iPhone 12 disabled connect to iTunes" problem. Just as with iCloud Find My iPhone feature, using Find My app is also a simple process. Here's how.
1. On your another iPhone or iPad, or you can borrow one from a neighbor, open Find My app. Make sure the device is connecting to cellular or Wi-Fi network.

2. Log in to iCloud with your credentials. You might need to log out the original account and sign in with your Apple ID if the device is not yours.
Once logged in, find your iPhone 12 from the list, tap it.
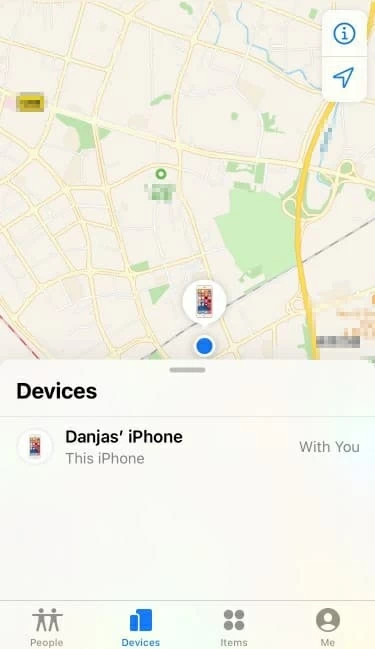
3. Scroll down a bit, tap "Erase This Device" there. That's it!
