How to Transfer iPhone Data to Samsung Galaxy S20
Sometimes bad things will inevitably happens to a smartphone. For example, your iPhone 7 (Plus) is stuck in Apple Logo screen, restart loop or headphone mode. Among the many technical issues you may encounter with iPhone 7 (Plus), there is one that may trigger a sense of panic: data loss. What sucks is the lack of any iCloud or iTunes backups to restore the lost data.
After a panic attack, you might be wondering how can you restore data on iPhone 7 (Plus) without backup. In fact, the data your lost or deleted is still hid in the memory of iPhone 7 (Plus), waiting to be replaced by new data you write to the device.
Time is your worst enemy when restoring data from iPhone 7 without iCloud or iTunes backup in hand. The longer you wait since the data was deleted or lost on the device, the more difficult it will be to try and recover the data on your own. It is very important to immediately stop using your phone and storing new data to it. Next, you will need to use a 3rd party iPhone 7 data recovery program to retrieve the data.
iOS Data Recovery is one of the best file recovery utilities out there. It is designed specifically for Apple users to recover data from their iOS devices or from backup in iCloud or iTunes.
This program is user friendly and works perfectly with iPhone 7 (Plus) and other generations of iPhone. It can restore many types of data without backup, be it contacts, messages, call history, safari history, photos, notes and more. It helps you find your deleted items precisely by using file search and choose what you need before recovery.
Retrieving deleted data on iPhone 7 (Plus) without backup only involves a few steps and clicks. Let's begin.
Step 1: Scan your iPhone 7 for deleted data on it
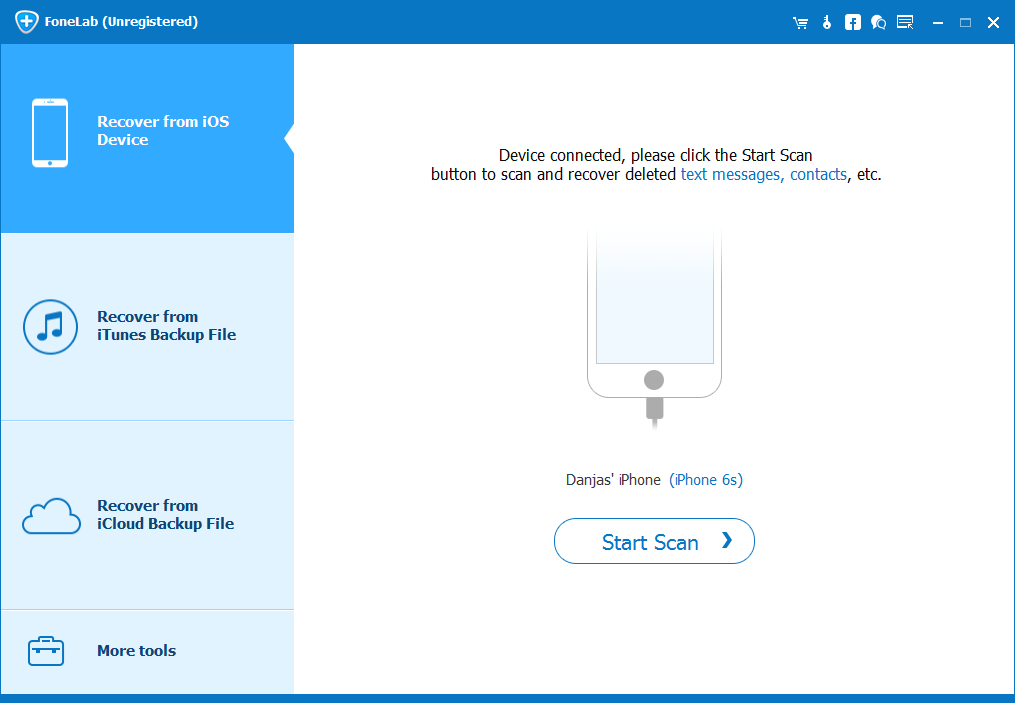
Run the tool on the computer first. There are three ways to scan for deleted files. Since you have no iCloud or iTunes backup available, select the "Recover from iOS Device" mode from the main interface to proceed.

Next, connect your device to the computer with an Apple-provided USB cable.
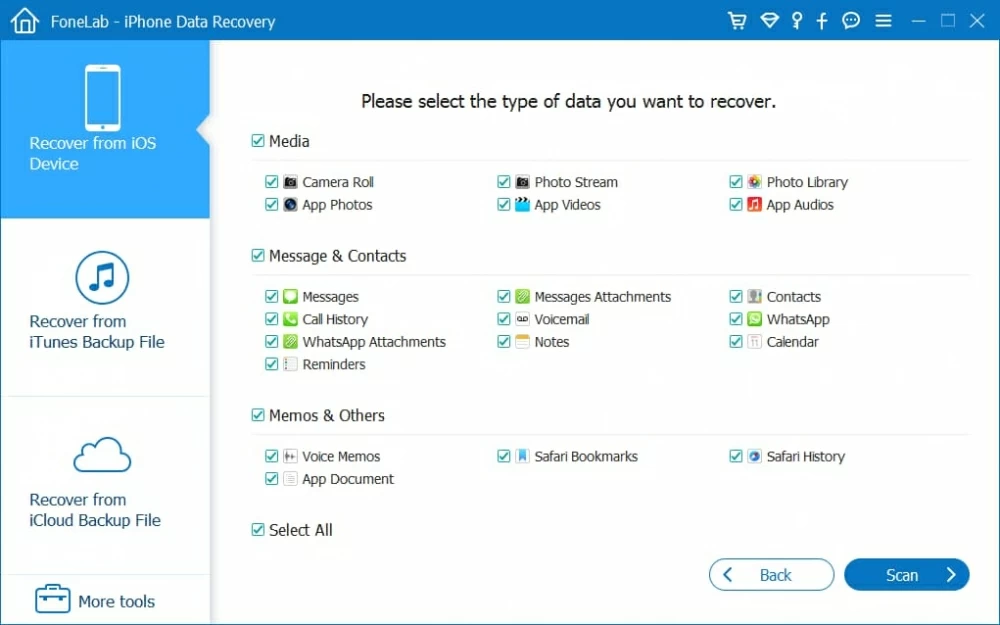
When it connected, pick the file types you want to retrieve and click the Scan button to let the program scan the iPhone 7 (Plus) completely. Go for a walk because the scan process can take a while depending on the size of the device.
After the process ends, all the recoverable files it found are loaded on the window.

Step 2: Select what data to be retrieved
In this step, simply click the specific category on the left pane and check the boxes next to the files you want to restore. For example, if you want to recover deleted photos from iPhone 7 (Plus) without backup, click the "Camera Roll" category and tick off the boxes under the thumbnails.
The same procedure goes for other data types.

Step 3: Restore the data files and export to the computer
Now, hit the Recover button located at the lower right corner of the screen to begin recovering the selected contents from iPhone 7 (Plus) and export to the computer.
That's all there is to it! Your files will now be recovered.