Recover Deleted WhatsApp Photos on Android
Got lost in the tedious process of iTunes? You can turn to third-party software instead. Here we explain how you can transfer photos from PC to iPad without using iTunes.
What to know

3 top tips to transfer photos from PC to iPad without iTunes.
Many people prefer using a camera over their cellphones to capture photos. It is simply because of the higher quality that a camera is able to provide. After capturing photos with a camera, people quite often transfer these photos to a computer so they can edit them. However, people generally find photo editing software for computers difficult to use.
An iPad is a great device for editing photos because most people are familiar with its user interface and editing photos on iPad is quite simple and easy. For this reason, people often come across situations where they are required to transfer photos from PC to an iPad.
Apple wants you to use its iTunes for transferring photos from your computer to iPad. However, iTunes is not very user-friendly, especially for people who have no experience using it. The iTunes application has many other problems, such as not working properly, errors and glitches, and sometimes even causing you to lose all your photos.
No fear! There are tons of ways that you can use to transfer photos from PC to iPad without iTunes. For example, iPhone Data Transfer — a tool that people can use to add photos from PC to iPad with great ease and effectiveness.
Here's a quick guide on how to transfer photos from PC to iPad without iTunes:
There is a one-stop destination solution for transferring data between an iPad and a Windows PC—iPhone Data Transfer. It is a perfect replacement for iTunes. It can handle all the basic things that iTunes can do and offers even more features.
iPhone Data Transfer supports transferring a wide variety of data, including photos, videos, music, contacts and more. Unlike the iTunes, you will not run into any compatibility issues with iPhone Data Transfer: it can always automatically convert the data you want to transfer into a format acceptable to your target device. Along with all that, the software is really easy to use with an easy-to-understand user interface. Download iPhone Data Transfer from the green button below and start enjoying transferring now.
Step 1: Plug your iPad into your PC
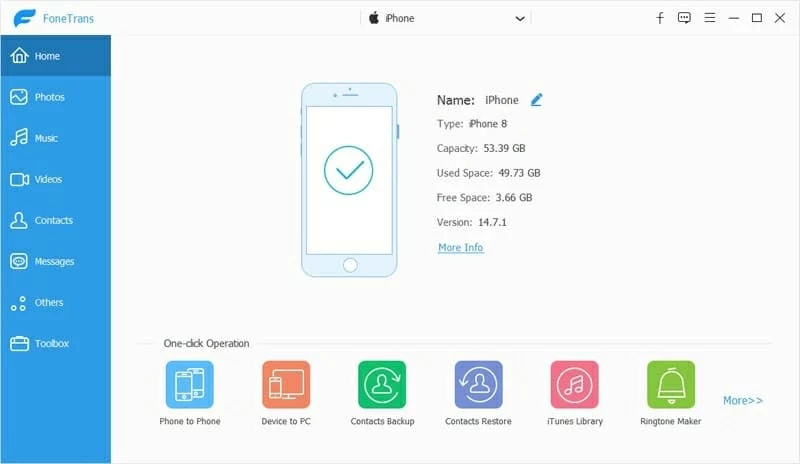
Use a USB cord to connect your iPhone to your computer. Enable your computer to access your iPhone by tapping "Trust" or enter the passcode on your iPhone. Once trusted, the details about your iPad should appear.

Step 2: Choose "Photos" from the Sidebar
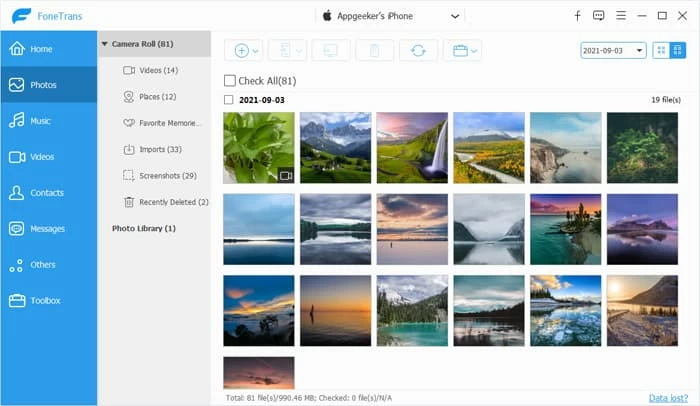
From the left sidebar, click on the "Photos" to open the photos library of your iPad.

Step 3: Add photos you'd like to move
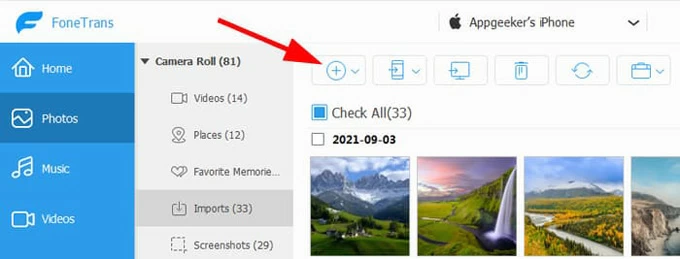
Next, click on the "+" icon on the top menu. You can select either "Add Files" or "Add Folder." Then navigate your way to the photo file or PC folder where you have saved the photos you want to transfer.
Or you can also drag and drop the photos or the PC folder to your iPad photos library in the window of the program.

On the condition that you don't have a USB around, using the Internet to transfer photos from PC to iPad may be the right method for you. As an iOS user, you must have heard of Apple's cloud storage service: iCloud. You can take full advantage of iCloud's upload-to-cloud service to sync photos between PC and iPad.
We have got you covered two options.
Option 1: Sync photos from PC to iPad by iCloud.com
1. Enable iCloud Photos on your iPad:
On your iPad, open Settings app. Go to "your iPad's name" > "iCloud" > "Photos." Now you can turn on the toggle switch located next to "iCloud Photos."
2. Upload photos from computer to iCloud:
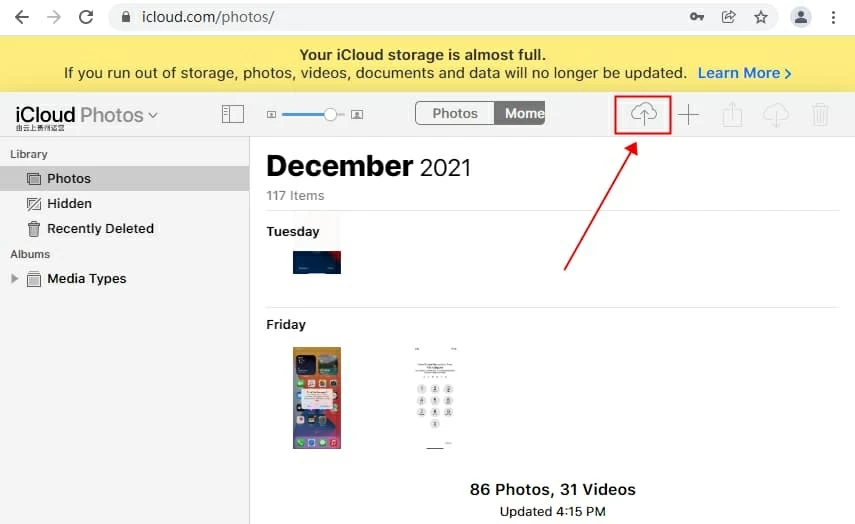
On your PC, go to iCloud.com and log in with your Apple ID. Click on "Photos" and then click on the icon shaped like a cloud with an arrow. Select the photos from your computer and start uploading them.

Note:
3. Check photos on your iPad:
Once uploaded, you can view the photos in Photo Library on your iPad.
Option 2: Sync photos from PC to iPad by iCloud Panel
If you've already downloaded iCloud app on your PC, these steps are for you to transfer photos from PC to iPad without iTunes:
1. Like mentioned above, enable iCloud Photos on your iPad.
2. Move to your computer, open iCloud app. Log in with the same Apple ID as your iPad.
3. Go to "Settings" > "Photos" to turn on iCloud Photo Library.
4. Tick the little box next to "Upload new photos and videos from my PC." You can select the folder from which you'd like to transfer photos by clicking the "Change" button.

After that, open the Photos app on your iPad to see the newly added photos.
Note that there is only 5 GB of free storage space per Apple ID, which may limit the number of photos you can transfer. Of course, you can pay for upgrades to get more space for transferring more pics.
Apart from Apple's iCloud, Google also developed its own cloud storage service. Unlike iCloud, you can get 15 GB of free storage in Goggle Photos. For those who do have a large number of photos to transfer but don't want to pay for iCloud, you can use Google Photos to transfer photos from your PC to your iPad.
Here are the steps to move photos from PC to iPad using Google Photos:

Many times you may need to transfer photos from computer to your iPad. While Apple wants you to use iTunes for this, there are many issues with it. Fortunately, there are still various ways you can use to transfer photos from pc to iPad without iTunes in this post. Try as you like.